Assignment # 7 Exercise 11 – Download the initial data file and save it as the macro-enabled
workbook with the exercises name provided
If the DEVELOPER tab is not already visible, add it to the ribbon.
TROUBLESHOOTING: In order to complete this step, the macro settings
on your computer must be enabled. If you receive a Security Warning
saying macros have been disabled or the file cannot be saved as a
macro-enabled workbook, open the Trust Center to check the macro
security settings. If you do not have access to the Trust Center, contact
your instructor or computer support person for assistance.
Enter your name and Today’s Date
2- Open the Developer Tab and select Record Macro
Enter the name of the macro, that is requested in the exercise
Follow the steps requested in the exercise and when finishing Stop
Recording
3- Review that the macro was saved
In Developer > Macro look at the windows
1- Select Developer
2- Select Macro
3- Verify that the macro name that you used is in the list.
If the list is empty, there is no macro saved
4- Create a Button to run the macro.
Select Insert and Form Control Button
Drag and select the button location and will see the Assign Macro
window, and select the Macro created and press OK
5- Rename the Button Text.
Select the button right click and select Edit Text. Change the name of
the button with the name requested in the exercise
6- Test the Macro Button.
Change back the modification that you made in the macro, and run the
macro to verify if it was correct
7- Create a new Tab Macro Code and then copy the Macro Code in the
Excel Tab
How to add the Developer Option in the Menu for Macros
In the Excel, select Files > Options
You will see the Excel Options:
Select Customize Ribbon
Click in the Developer and OK
A) Create the Macro
– Select Developer > Record Macro
It opens a window to save the recording (Start Recording)
– Do the requested of the exercise, change color
– Select Developer > Record Macro (Stop Recording)
– Test the Macro:
– Return the color to allow the test
– Select Developer > Macro. It opens the windows select the macro and press Run
B) Created Button to process the macro
– Select Developer > Insert > Select the button
– Assign the Macro to the button
Shop Discount
Inventory
Your Name
Date:
4/13/2024
Product
List Price
Discount
Sale Price
Sale Tax
Total Price
Red Gown
Blue Jacket
Brown Slacks
Radio
TV
Desk
745
985
395
170
475
480
185
2
55
60
125
45
560
983
340
110
350
435
44.8
78.64
27.2
8.8
28
34.8
604.8
1061.64
367.2
118.8
378
469.8
Total
3250
472
2778
222.24
3000.24
This is an example that how should look when unformatted
WEEK # 7 – EXERCISE MODULE 10 – MACRO
Exercise Module 10 Macros – Format and Unformat an Excel
workbook.
We are at the end of the term, and you have learned different aspects of Excel. One of them is the
format a spreadsheet, so we will use this knowledge to test the macro.
1. Open the workbook named 7-EX1-Macro.xls attached with the data of the assignment, and save
the file as the macro-enabled workbook 7-Ex1-Macro-YourName.xlsx.
If the DEVELOPER tab is not already visible, add it to the ribbon.
TROUBLESHOOTING: In order to complete this step, the macro settings on your
computer must be enabled. If you receive a Security Warning saying macros have been
disabled or the file cannot be saved as a macro-enabled workbook, open the Trust
Center to check the macro security settings. If you do not have access to the Trust
Center, contact your instructor or computer support person for assistance.
2. Enter your name in the cell marked as Your Name.
3. Plan the macro steps and then create one macro that will format the exercise in the way that is
shown:
Record the macro, naming it FormatExercise1 and saving it in the current workbook. Assign the
macro to the Ctrl+Shift+F shortcut key combination.
4. Run the macro to test it. If it does not perform all the tasks you planned, re-record the macro using
the same name.
5. Add a custom button on the 7-EX1-Macro.xls worksheet with the label Format Exercise 1 to run
the macro. Place it at the left bottom of the worksheet.
6. Save the workbook, and then test the macro buttons.
1
WEEK # 7 – EXERCISE MODULE 10 – MACRO
7. Plan the macro steps and then create another macro that will unformat the exercise in the way
that is shown:
Record the macro, naming it UnFormatExercise1 and saving it in the current workbook. Assign the
macro to the Ctrl+Shift+U shortcut key combination.
8. Run the macro to test it. If it does not perform all the tasks you planned, re-record the macro using
the same name.
9. Add a custom button on the 7-EX1-Macro.xls worksheet with the label Unformat Exercise 1 to
run the macro. Place it at the right bottom of the worksheet.
10. Save the workbook, and then test the macro buttons.
11. Save and close the 7-Ex1-Macro-YourName.xlsx workbook.
2
WEEK # 7 – EXERCISE MODULE 10 – MACRO
Note: The way that it needs to look is:
Initially:
Press the button Format Exercise 1 and then will look:
3
WEEK # 7 – EXERCISE MODULE 10 – MACRO
Press the button Unformat Exercise 1 and then will look:
And you can repeat pressing one or the other to Format or Unformat
4
Essay Writing Service Features
Our Experience
No matter how complex your assignment is, we can find the right professional for your specific task. Achiever Papers is an essay writing company that hires only the smartest minds to help you with your projects. Our expertise allows us to provide students with high-quality academic writing, editing & proofreading services.
Free Features
Free revision policy
$10Free bibliography & reference
$8Free title page
$8Free formatting
$8How Our Dissertation Writing Service Works

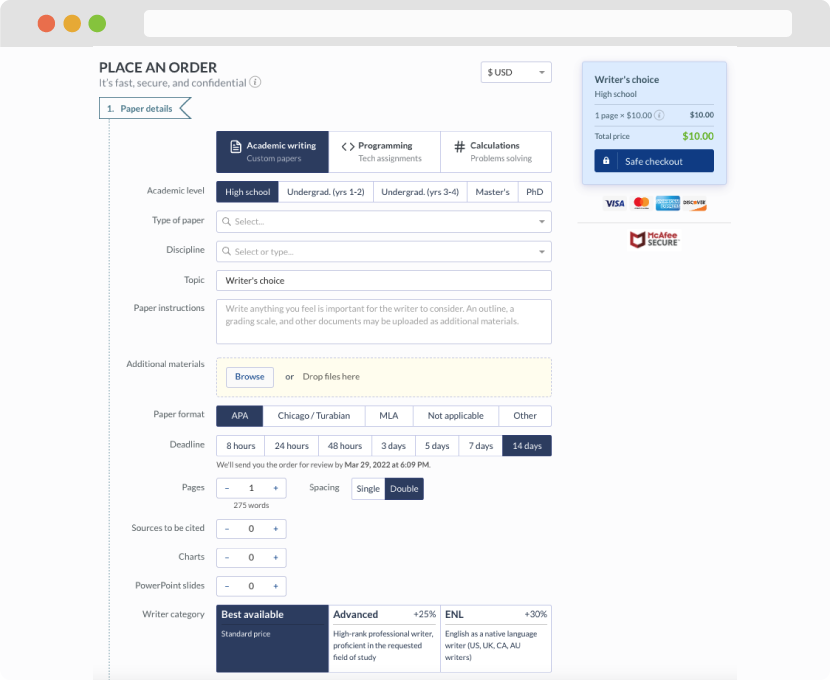
First, you will need to complete an order form. It's not difficult but, if anything is unclear, you may always chat with us so that we can guide you through it. On the order form, you will need to include some basic information concerning your order: subject, topic, number of pages, etc. We also encourage our clients to upload any relevant information or sources that will help.
Complete the order form
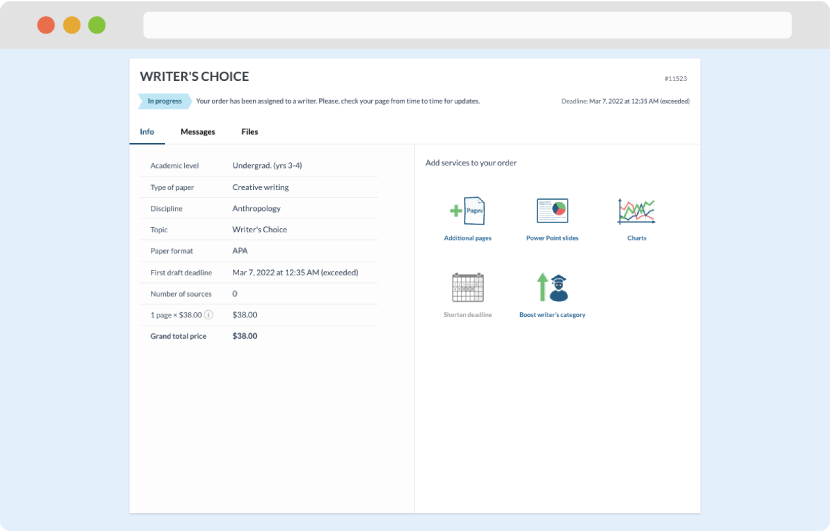
Once we have all the information and instructions that we need, we select the most suitable writer for your assignment. While everything seems to be clear, the writer, who has complete knowledge of the subject, may need clarification from you. It is at that point that you would receive a call or email from us.
Writer’s assignment
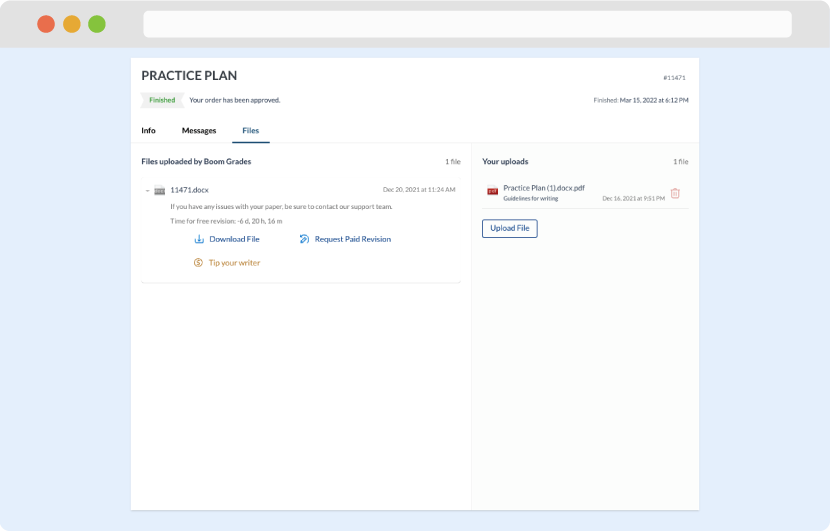
As soon as the writer has finished, it will be delivered both to the website and to your email address so that you will not miss it. If your deadline is close at hand, we will place a call to you to make sure that you receive the paper on time.
Completing the order and download